
Photo of a high-speed train with a PS radial blur filter to create a galloping effect
Here we use this filter to create a speeding "moving" car effect.
The operation is very simple, only requires a few steps, and beginners can quickly make it.
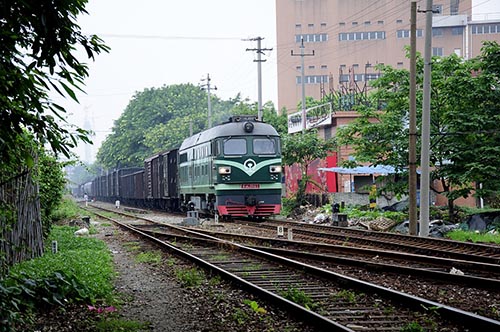
The first thing to look for online is a picture of a train like this, which looks like it's stopping or moving slowly
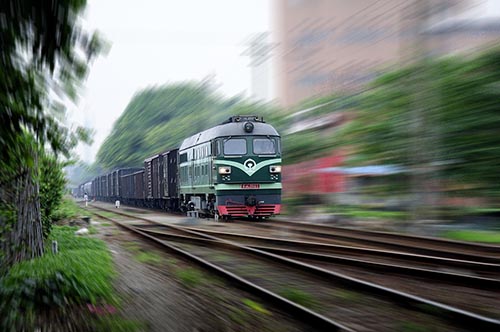
Our best rendering, after processing the train from the original static feeling into a galloping effect
Now let's get down to business:
Step 1: Press the shortcut CTRL+J, copy layer 1, CTRL++ three times, enlarge the image, and then use the Pen tool to move the image along the edge of the train with the H gripe tool to gradually select the train.

Step 2: After the pen tool path is closed, right-click, pop up the menu, select Create selection, feather radius is 1 pixel, you can smooth the edge. After creating the selection, pressing CTRL+J will remove the train body and create a new matting layer. As shown in the diagram in Step 3

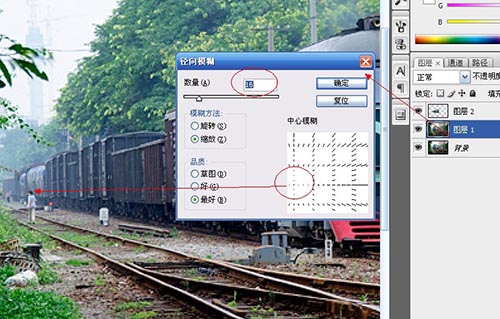
Step 3: On layer 1, click the Filter - Blur - Radial Blur command to bring up the radial blur parameters panel, set the number to 16, the smaller the value, the smaller the effect. Below, if you click "Rotate", the fuzzy path will be blurred according to the concentric circle line; Click "Zoom" here, and it will be radially blurred with a central point as the base. There are three qualities, choose the sketch will appear a lot of pixel clutter, choose well will also appear some. I originally chose here is good, so there are some miscellaneous points appear, should choose "best". In the right center blur view area, click the mouse to move the center blur point. Here, you can feel the center point to move to the rear of the train, see my red arrow below. See the effect after the point is determined, and re-confirm the central fuzzy point if you are not satisfied.
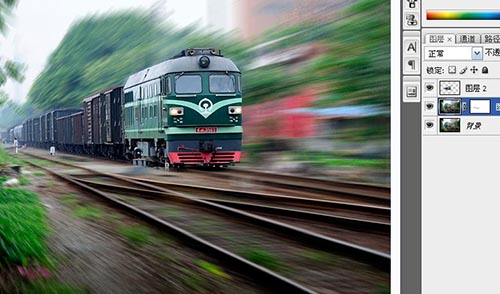
The final step: Create a white mask for Layer 1 and use the appropriate soft corner brush tool to erase distant figures, milestones, etc. where you feel you need clarity. You can also click on the zoom image before the white mask, and use the smudge tool to push the parts of the locomotive that should not be radially blurred, as shown in the figure, these small details can be used at your own pleasure.
OK, the train effect has been processed. In order to impress everyone, let's find a picture of a tree to process it.
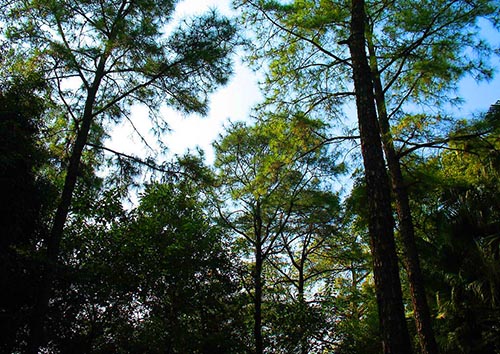
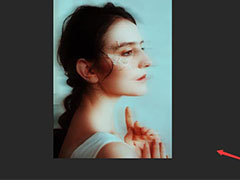
The radial blur filter used here in Photoshop is intended to give a beautiful effect of sunlight in the forest. Look at the original image first. The light is flat and lifeless
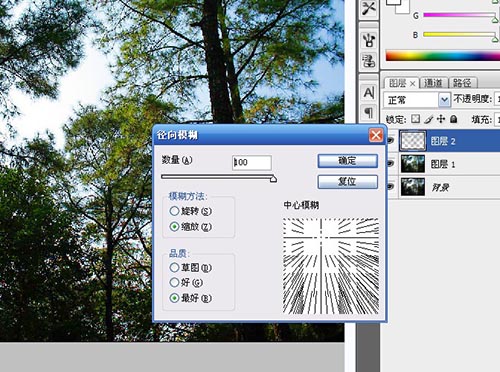
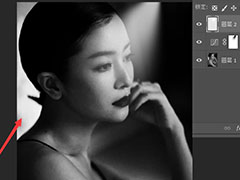
I tried the radial blur several times this time, and the quantity value pulled to 100 is the best. But how do you make light effects? Here you need to select the highlight selection first, there are two methods, one is the shortcut key to select the highlight, because the version is different, I use CS3, the shortcut key is ALT+CTRL+~. Or click the menu: Select - color range - select - highlight, tolerance of more than 70 basic can be. Then after the two methods select the highlight selection, press the shortcut key CTRL+J to create a new layer of the highlight area, and then the radial blur can be completed in this layer.
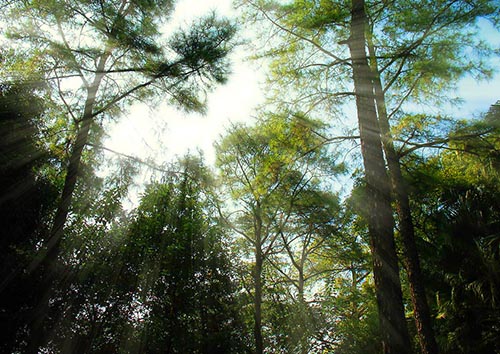
(After the radial blur, you can use the color balance tool to adjust the light tone and brightness, feel free to play)
Related article
-

ps image processing after sharpening function how to use the picture reasonably sharpening skills
Sharpening is a common post-processing method, which can make photos revitalize and show details. Today, let's walk into the world of sharpening and reveal its principle and operation skills2024-01-29 -
 ps How to make freezing effect? When processing people's photos, want to add a frozen hand photo, how do I do it? Here we take a look at the Photoshop character hand to find the day to add freezing effect skills2023-07-13
 -
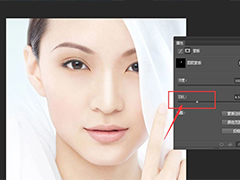
How to use Photoshop to tone people's skin tone? When ps deals with portraits, it wants to use cmyk to adjust the character's skin color, so let's take a look at the skills of PS using CMYK values to adjust the character's skin color2023-06-29
-
ps picture how to do the broken effect ps to make the broken photo effect detailed diagram
ps picture how to do the crushing effect? When Photoshop picture processing, want to do edge crushing effect, how to make it? Below we will take a look at the Photoshop to create a detailed illustration of the effect of broken photos2023-06-25 -
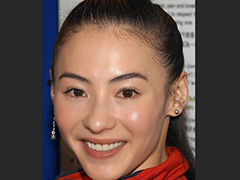
How to remove the law line in Photoshop photos? Photoshop photos to remove the lines of the trick
How to remove the law line in Photoshop photos? Photoshop photos when fine retouching, want to remove the character's face law, how to operate? Here we take a look at how to photoshop photos to remove the lines2023-03-17 -
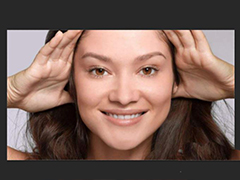
How does Photoshop Make skin smooth? Photoshop a way to make skin smooth and delicate
How does Photoshop Make skin smooth? When ps handles the portrait, want to make the character skin better, how to operate? Let's take a look at how Photoshop character image processing can make skin smooth and delicate2023-03-17 -
 ps How to make the character's nose taller and stiffer? Figure nose bridge is a little short, when processing pictures, want Photoshop portrait processing to make the nose bridge higher skills2023-03-17
 -
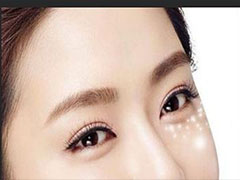
ps repair figure portrait eye bag how to get? PS figure retouching to eye bag skills
ps repair figure portrait eye bag how to get? ps processing character picture, want to go to the eye bag, how to repair the eye bag? Below we will take a look at the skills of PS character retouching to the bags under the eyes, please see below for details2022-12-01 -
How to add dynamic blur effect to ps photos? ps dynamic blur filter application skills
How to add dynamic blur effect to ps photos? When Photoshop retouching, want to add a dynamic blur effect to a person's photo, how to make this effect? Let's take a look at the application skills of ps dynamic blur filter2022-06-01 -
How to Photoshop people's faces? Photoshop character retouching and beam effect skills
How to Photoshop people's faces? ps want to give the character face light alone, how to make the beam effect, below we will take a look at ps character retouching and beam effect skills, please see below for details2022-05-16
Latest comments